That brass and frosted glass fixture from the 90s has got to go. Replacing a light fixture seems like it should be simple — and often it is.
But "simple" electrical work still involves 120 volts, which demands respect. Here's what you need to know about light fixture replacement.
Can You DIY This?
When It's Straightforward
Light fixture replacement is manageable if:
- ✅ You're replacing an existing fixture (wiring already there)
- ✅ The new fixture is similar weight/style to the old one
- ✅ You're comfortable turning off the breaker
- ✅ The existing wiring looks standard and in good condition
- ✅ You can reach the fixture safely
When to Call a Pro
Consider professional help if:
- ❌ You're adding a fixture where none exists (new wiring needed)
- ❌ The ceiling box looks damaged or undersized
- ❌ The wiring looks old, frayed, or non-standard colors
- ❌ Multiple wires suggest a complex circuit
- ❌ The new fixture is significantly heavier than the old
- ❌ You're not comfortable verifying power is off
Important: Installing a new fixture where none existed requires running new electrical — that's work for a licensed electrician. We can only swap existing fixtures. See our legal page for details.
Before You Start
Turn Off Power — Really Off
- Turn off the switch (not enough!)
- Turn off the breaker
- Test the fixture to confirm no power
- Use a non-contact voltage tester on the wires
- Test again after removing the fixture (someone could flip the breaker)
Check the Electrical Box
Behind every fixture is an electrical box. Issues to watch for:
Box type:
- Plastic boxes are fine for light fixtures
- Metal boxes may require grounding
- Some old work boxes are shallow — check depth
Weight rating:
- Standard boxes hold 50 lbs for fixtures
- Ceiling fans need fan-rated boxes
- Heavy chandeliers may need reinforced boxes
Box condition:
- Cracked or damaged boxes should be replaced
- Loose boxes need to be secured
- Missing boxes (fixture attached to lath) are a code violation
Check the Existing Wiring
Standard modern wiring:
- Black: Hot (power)
- White: Neutral (return)
- Green or bare copper: Ground
Older homes might have:
- Two cloth-covered wires (no ground)
- Different color schemes
- Knob-and-tube (very old — consult an electrician)
If your wiring looks non-standard, stop and consult a pro.
Choosing a Replacement Fixture
Match the Box
The fixture should:
- Fit the existing mounting holes (or use the adapter plate)
- Not exceed the box's weight rating
- Work with the available wiring
Style Considerations
Think about:
- Size: Proportional to the room and ceiling height
- Light output: LEDs are brighter per watt — check lumens
- Bulb type: Will you easily find replacements?
- Dimmer compatibility: If on a dimmer, verify LED fixtures are dimmable
Practical Factors
- Ceiling height: Flush mounts for low ceilings, pendants for high
- Cleaning access: That fancy crystal chandelier needs regular dusting
- Bulb access: Some fixtures make bulb changes a hassle
The Replacement Process
Tools Needed
- Non-contact voltage tester
- Screwdrivers (flat and Phillips)
- Wire strippers (possibly)
- Wire nuts (may be included)
- Step ladder
- Flashlight or headlamp
- Needle-nose pliers
- Helper (for heavy fixtures)
Step-by-Step
1. Document the existing wiring
- Take a photo before disconnecting anything
- Note which wire connects where
2. Remove the old fixture
- Turn off power (verify!)
- Remove the shade/globe
- Remove mounting screws or nut
- Support the fixture while disconnecting wires
- Disconnect wires (untwist wire nuts)
- Remove the mounting bracket if replacing
3. Install new mounting bracket
- Follow the new fixture's instructions
- May use existing holes or provide adapters
- Make sure it's secure to the box
4. Connect wiring
- Match colors: black to black, white to white, ground to ground
- Strip wire if needed (1/2" of bare copper showing)
- Twist wires together, then add wire nut
- No bare copper should be visible below the wire nut
- Tug test each connection
5. Mount the fixture
- Tuck wires neatly into the box
- Attach fixture to bracket (screws or nut)
- Install shade/globe
6. Test
- Turn on breaker
- Turn on switch
- Verify it works
- Check that it's secure
Common Issues and Solutions
Fixture Won't Mount Flush
Causes:
- Wires not tucked in properly
- Wrong bracket for fixture
- Box too shallow
Fixes:
- Carefully reposition wires
- Use the correct mounting hardware
- May need a box extender
Flickering After Installation
Causes:
- Loose wire connection
- Incompatible dimmer
- Bad bulb
Fixes:
- Turn off power, check connections
- Replace dimmer with LED-compatible
- Try a different bulb
Buzzing or Humming
Causes:
- Incompatible dimmer (most common with LEDs)
- Loose connection
- Vibrating glass shade
Fixes:
- Install LED-compatible dimmer
- Check and tighten connections
- Add felt pads to shade contact points
Fixture Is Crooked
Causes:
- Mounting bracket not level
- Uneven canopy contact
- Box is crooked
Fixes:
- Adjust bracket
- Use leveling screws if provided
- Live with it or fix the box
Specific Fixture Types
Flush Mounts
Simplest type:
- Usually 2-3 screws into the bracket
- Shade attaches with a finial or screws
- Easy one-person job
Semi-Flush Mounts
Similar to flush but:
- Short stem adds some drop
- Might need helper for alignment
- Same wiring approach
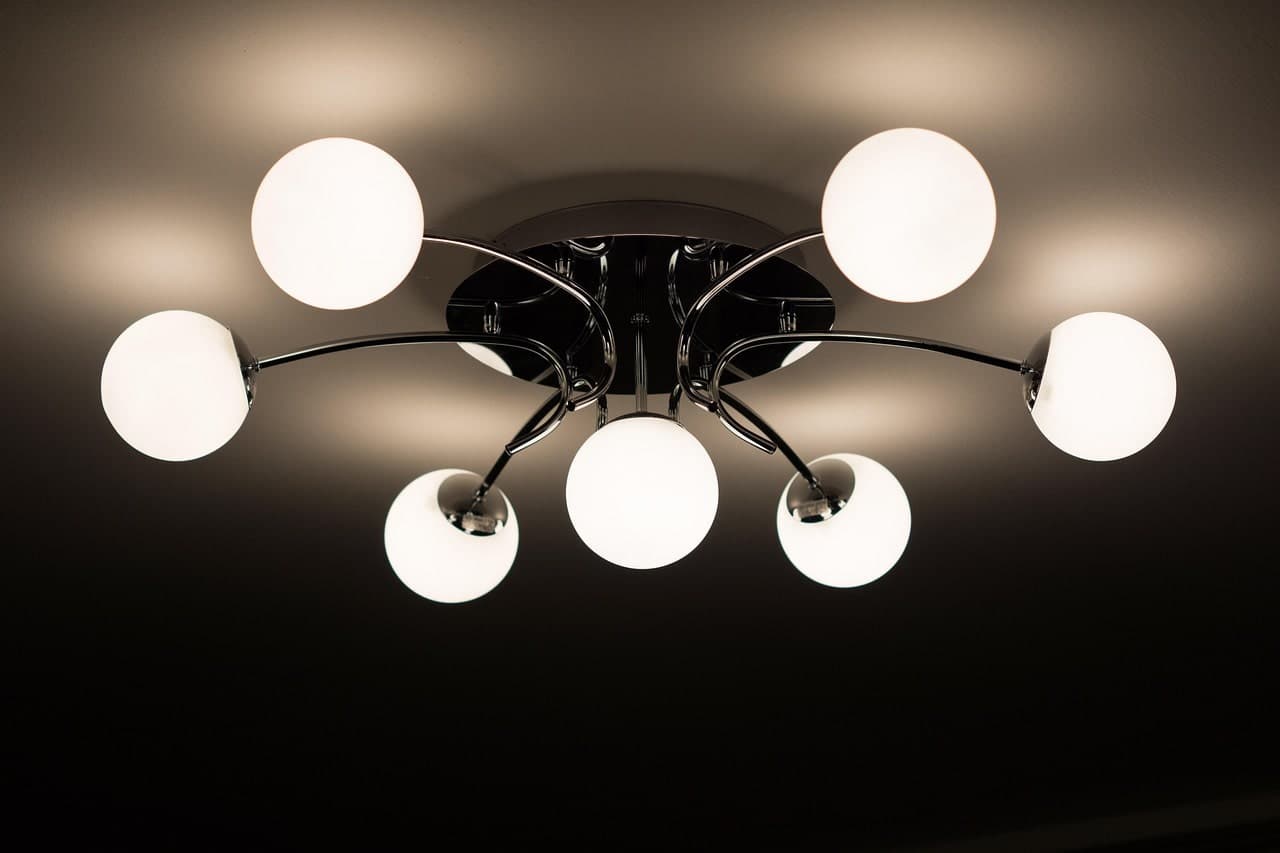
Pendants
More involved:
- Canopy covers the box
- Cord or chain adds complexity
- May need to adjust length
- Consider how it hangs — centered?
Chandeliers
Most complex:
- Heavy — need help and a properly rated box
- Multiple bulbs complicate wiring
- Chain length adjustment
- Level is critical
Recessed Lighting (Can Lights)
Special category:
- Usually retrofit kits available
- LED retrofits screw into existing socket
- Full replacement is more involved
Dimmer Compatibility
If your fixture will be on a dimmer:
Incandescent/halogen: Any dimmer works
LED fixtures: Need LED-compatible dimmer
CFL: Most don't dim well
Mismatch symptoms:
- Flickering
- Buzzing
- Limited dimming range
- Fixture won't turn off completely
Fix: Replace the dimmer with one rated for your bulb type.
What We Can Help With
At Finally Fixed Home Services, we replace existing light fixtures as part of our Home Repair Services. This includes:
- Removing your old fixture
- Installing your new fixture
- Testing operation
- Basic dimmer troubleshooting
We can only replace fixtures where one already exists. If you need a light installed in a new location, that requires a licensed electrician. See our legal page for details.
What to Have Ready
If you'd like us to install a fixture:
- New fixture on-site with all parts
- Access to the breaker panel
- Ladder access to the fixture location
The Bottom Line
Swapping an existing light fixture is one of the more satisfying home upgrades — instant visual impact for relatively little effort. Just respect the electricity, verify power is off, and take your time with the connections.
When in doubt, call a pro. It's not worth a shock or a fire.
Need Fixture Installation?
We replace existing light fixtures throughout Colorado. You supply the fixture, we handle the safe installation.
Check out our full Home Repair Services or see our Light Fixtures & Ceiling Fans service for details.
Related posts:
- Ceiling Fan Replacement: What You Need to Know — Similar electrical work
- Garbage Disposal Replacement: When and How — Another like-for-like replacement