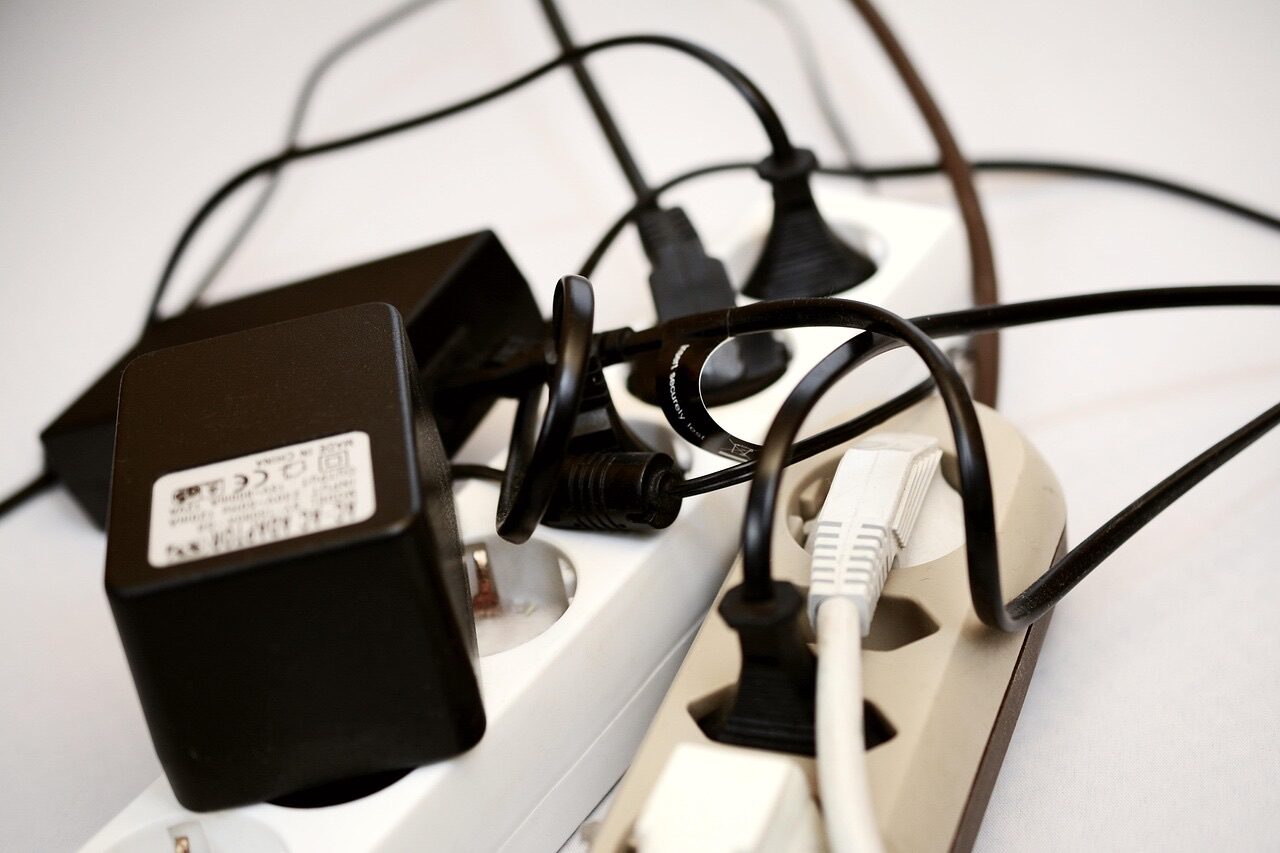
We've all seen it (or lived it): you look behind your TV stand and find a terrifying nest of power cables, HDMI cords, speaker wires, and who-knows-what-else tangled together. It's ugly, it's a dust magnet, and good luck figuring out which cable goes where when something stops working.
Let's fix that.
Why Cable Management Matters
Beyond aesthetics, proper cable management provides real benefits:
Troubleshooting
When something stops working, can you quickly identify which cable is which? Organized cables make troubleshooting 10x easier.
Airflow and Heat
Tangled cables can block ventilation around your equipment. Game consoles, receivers, and streaming boxes all generate heat and need airflow.
Dust and Cleaning
Cable nests collect dust and are impossible to clean around. Organized cables are easier to maintain.
Safety
Loose cables can be tripping hazards or get damaged by pets, vacuums, or feet. Managed cables stay out of harm's way.
Future Changes
Want to add a new device or move something? Organized cables make changes simple instead of a dreaded project.
The Entertainment Center Cable Inventory
A typical setup might include:
- TV power cable
- TV streaming device (Roku, Apple TV, Fire TV)
- Gaming console (often multiple)
- Soundbar or receiver
- Speakers (if surround sound)
- Subwoofer
- Cable/satellite box
- Blu-ray player
- HDMI cables (many)
- Optical audio cable
- Ethernet cables
- HDMI ARC or eARC cable for soundbar
- Smart home hub
- Antenna cable
- Power strips
No wonder it becomes a mess!
Cable Management Strategies
Step 1: Take Inventory
Before organizing, know what you have:
- Unplug everything (take photos first!)
- Remove all cables from behind the stand
- Identify each cable and device
- Decide what you actually still use
You might find cables from devices you no longer own. Remove them.
Step 2: Plan Your Layout
Think about:
- Which devices connect to which?
- What needs power?
- What's the shortest path for each cable?
- Are there any cables that could be shorter/longer?
Step 3: Use the Right Tools
Velcro cable ties — Reusable, adjustable, and won't damage cables like zip ties can.
Cable sleeves — Neoprene or braided sleeves bundle multiple cables together into one clean run.
Cable management boxes — Hide power strips and excess cable length inside a box.
J-channel/cable raceways — Plastic channels that mount to the back of furniture or walls to route cables neatly.
Cable clips — Adhesive or screw-mount clips hold cables in specific paths.
Under-desk cable trays — For entertainment centers with open backs.
Step 4: Group by Destination
Bundle cables that go to the same place:
- All cables going to the TV (HDMI, power) together
- All cables going to the receiver together
- All power cables to the power strip together
Step 5: Manage Cable Length
Excess cable length is the enemy of clean setups. Options:
- Coil and velcro — The simplest approach
- Cable management box — Hide excess inside
- Shorter cables — Buy the right length (HDMI cables come in many lengths)
Step 6: Label Everything
Use a label maker or cable tags to identify each cable at both ends. Future you will thank present you.
Behind the TV: The Bigger Challenge
If your TV is wall-mounted, cables running from the TV to your entertainment center are often the ugliest part.
In-Wall Cable Routing (Best)
For a truly clean look, cables can be routed through the wall:
- Low-voltage cables (HDMI, speaker wire, coax) can go inside the wall
- Power requires an approved in-wall power kit or a new outlet behind the TV
- We use proper low-voltage plates for a professional finish
Cable Raceways (Good)
If in-wall isn't possible:
- Paintable raceways blend with the wall
- Corner raceways fit along edges
- Available in various sizes for different cable bundles
Cord Covers (Acceptable)
Simple fabric or plastic cord covers are better than exposed cables but less elegant than raceways.
Power Management
Use a Quality Power Strip/Surge Protector
Cheap power strips are a false economy. Get one with:
- Surge protection (joule rating of 1000+)
- Enough outlets for your needs
- Spacing for wall-wart adapters
- USB ports (convenient for charging remotes, controllers)
Consider a UPS for Sensitive Equipment
A small UPS (Uninterruptible Power Supply) protects your equipment from power surges and brief outages. Especially valuable for gaming consoles where a sudden shutoff can corrupt save data.
Mount the Power Strip
Mount your power strip to the back of the entertainment center or wall — not sitting on the floor collecting dust.
Common Entertainment Center Setups
Streaming-Only Setup (Minimal)
- TV
- Streaming device (or smart TV apps)
- Soundbar
Cables needed: TV power, soundbar power, HDMI ARC (or optical), streaming device power/HDMI
This is the simplest setup. A small cable sleeve and management box can handle everything easily.
Gaming + Streaming Setup
- TV
- 1-2 gaming consoles
- Streaming device
- Soundbar
Cables needed: All of the above, plus console HDMI cables, console power cables, possibly Ethernet for consoles
This gets busier. Consider a cable management box large enough for the power strip plus all the wall warts.
Full Home Theater
- TV
- AV Receiver
- Multiple speakers + subwoofer
- Gaming consoles
- Streaming device
- Cable/satellite box
Cables needed: Many HDMI, speaker wire runs, subwoofer cable, possibly multiple Ethernet
This is where professional help really pays off. Managing this many cables cleanly requires planning and the right hardware.
DIY Cable Management Tips
- Start fresh — Disconnect everything and begin with a clean slate
- Work in sections — Tackle one group of cables at a time
- Leave slack — Don't pull cables tight; leave room for adjustments
- Don't overtighten — Squeezing cables too hard can damage them
- Use velcro, not zip ties — Easier to adjust and remove
- Label as you go — Don't wait until the end
- Take photos — Document your work for future reference
- Plan for changes — Leave room to add devices later
When to Call a Pro
Cable management can be DIY, but there are reasons to hire help:
- In-wall cable routing — Requires cutting drywall and fishing cables
- Complex setups — Full surround sound or multi-zone systems
- Time — A professional gets it done faster
- Tools — We have proper crimpers, fish tapes, and labeling equipment
- Expertise — We've seen dozens of setups and know what works
At Finally Fixed Home Services, cable management is one of our most requested services. We can transform your cable chaos into a clean, organized system — whether as part of a TV mounting or as a standalone project.
What Professional Cable Management Includes
When we organize your entertainment center:
- Complete inventory and disconnection
- Cable routing optimization
- Quality cable management hardware installation
- Labeling of all connections
- Cable testing to ensure everything works
- Clean reconnection
- Before/after photos
The End Result
A well-organized entertainment center:
- Looks clean and intentional
- Makes troubleshooting simple
- Allows for easy changes and additions
- Improves airflow to equipment
- Reduces dust accumulation
- Impresses guests (okay, maybe that's just us)
Contact us or call/text 720-933-3501 to discuss your entertainment center cable management project.
Related Posts: